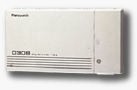
- We are assuming that you KX-TD308 is mounted on a wall, and that you have plugged in a
cable with a male 25-pair Amphenol-type plug, and that the wires from your phone jacks are
connected to that cable, probably via a punch-down block. Your phone lines should be
connected to the 3-line modular jack inside the KX-TD308.
- Check the instructions starting on page 2-25 in your installation manual. Remove the
large and small covers from the KX-TD308, and carefully attach the KX-TD30891 circuit
board to the upper part of the main circuit board. Make sure the pins line up properly
with the sockets. Close the large cover.
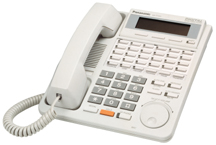
- Connect a display phone to the lowest-numbered jack, intercom #11.
- Get into system programming, by pressing *#1234.
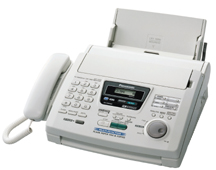
- Press 129 (FAX TRANS)
- Press NEXT
- Enter the extension number (intercom number) for the jack where the fax will be plugged
in.
- Press AUTO DIAL/STORE
- Press HOLD (or END if you are using a programming template).
- Press 407 (DIL1:1 DAY)
- Press NEXT.
- Enter the C.O. line number that your fax calls will come in on.
- Enter 198.
- Press AUTO DIAL/STORE
- Press HOLD (or END if you are using a programming template).
- Press 408 (DIL1:1 NITE).
- Press NEXT.
- Enter the C.O. line number that your fax calls will come in on.
- Enter 198.
- Press AUTO DIAL/STORE
- Press HOLD (or END if you are using a programming template.
- Press 409 (INTERCEP DAY)
- Press NEXT
- Press 1
- Press Press 191 (191 is the extension number for the DISA circuit)
- Press AUTO DIAL/STORE
- Repeat sequence for lines 2 and 3
add actual steps
- Press HOLD (or END if you are using a programming template).
- Press 602 (EXT GROUP #)
- Press NEXT
- Enter jack number for fax
- Enter extension group (probably 2 -- a number that does not include the other jacks,
which should probably be in group #1).
- Press AUTO DIAL/STORE
- Press HOLD (or END if you are using a programming template).
- Press 106 (STATION HUNT)
- Press NEXT
- Press 1 (if your phones are in group 1)
- Keep tapping SEL+ until the display shows RING
- Press AUTO DIAL/STORE
- Record an outgoing message. This can be as brief as "Please wait a moment," Or
it can be an announcement, up to 16 seconds long, with choices like "Press 13 to
place an order." You can get into recording by pressing 361, and then press AUTO
DIAL/STORE to stop and then hear your message. If you are using a KX-T7235 or 7436 display
phone, you can also get into recording from the FEATURES button on the left side of the
display screen.
- Pray and test.
-
-
|